Mini Heart Cake with Red Velvet
Highlighted under: Dessert Delights
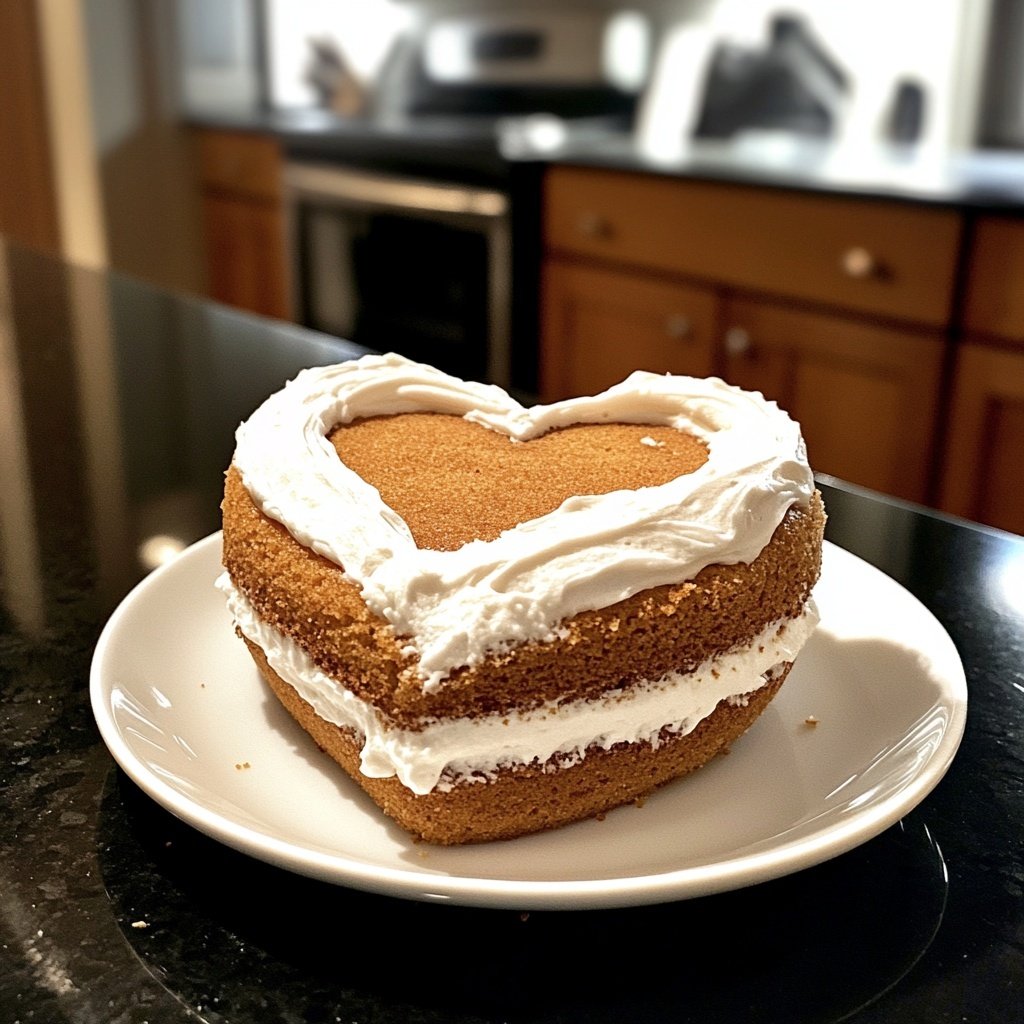
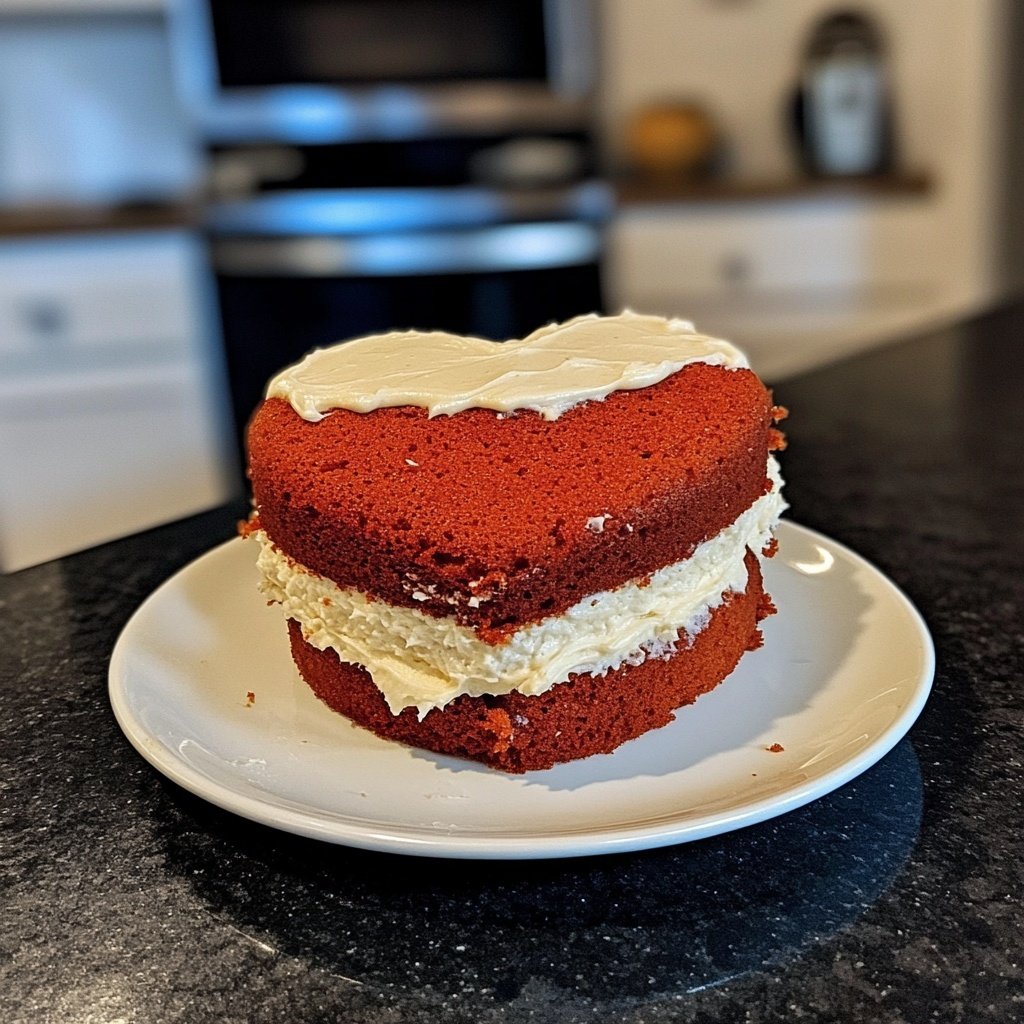
I absolutely adore making mini heart cakes, especially when they are as vibrant and delicious as these red velvet ones. The moist layers of red velvet cake paired with a creamy cream cheese frosting bring an irresistible richness that makes them perfect for any occasion. These sweet treats are not just delightful to eat, but they also make for a stunning presentation, whether it's for a loved one's birthday or just a personal indulgence. Join me in creating this charming dessert that'll surely steal the show!
When I decided to bake these mini heart cakes, I was inspired to bring a touch of romance into the kitchen. I experimented with different cream cheese frosting ratios until I found the perfect balance of sweetness and tanginess. This combination complements the rich chocolate flavor of the red velvet beautifully. I also learned that the key to achieving that vibrant red hue is using high-quality cocoa powder along with vibrant food coloring for an eye-catching finish.
During the baking process, I noticed that baking them as mini cakes resulted in delightful individual portions that are not only cute but also easier to serve. Plus, they cool faster than a large cake, which means I could enjoy my cake sooner! Remember to let the cakes cool completely before frosting to avoid any melting.
Why You'll Love This Recipe
- Rich chocolate flavor paired with fresh orange zest
- Creamy texture that melts in your mouth
- Perfect for celebrations or as a sweet indulgence
Understanding Red Velvet Cake
Red velvet cake is not just about its striking color; it’s a blend of flavors that make it truly special. The inclusion of cocoa powder adds a subtle chocolate essence, while the buttermilk contributes to its moistness and tangy taste. When mixing the batter, be sure not to over-mix, as this can lead to a denser texture rather than the light, airy cake we desire.
One of the key characteristics of a classic red velvet cake is its vibrant hue, achieved with red food coloring. If you're looking for a natural alternative, consider using beet juice, which not only provides color but also plays well with the flavors of the cake. Adjust the amount until you reach your desired tint, but be cautious, as too much may alter the batter's consistency.
Perfecting Cream Cheese Frosting
The cream cheese frosting is an integral component that balances the sweetness of the red velvet cake. For the best results, ensure both the cream cheese and butter are at room temperature to achieve a smooth consistency. Cold ingredients can result in lumps that won’t blend well. I usually leave them out for about an hour before starting; the texture should be creamy and easy to spread.
If you're looking to customize your frosting, consider adding citrus zest, such as lemon or lime, for a refreshing twist. Alternatively, mixing in a tablespoon of strong coffee or espresso can enhance the cake's chocolate notes. Just remember to adjust the sugar level accordingly since adding liquids can make the frosting thinner.
Ingredients
Gather the following ingredients:
For the Cake
- 1 1/2 cups all-purpose flour
- 1 cup granulated sugar
- 1/2 cup unsalted butter, softened
- 2 large eggs
- 1 cup buttermilk
- 1 tablespoon red food coloring
- 1 teaspoon vanilla extract
- 1 teaspoon baking soda
- 1 teaspoon vinegar
- 1/2 teaspoon salt
- 1/2 teaspoon cocoa powder
For the Cream Cheese Frosting
- 8 oz cream cheese, softened
- 1/2 cup unsalted butter, softened
- 2 cups powdered sugar
- 1 teaspoon vanilla extract
Make sure to measure your ingredients carefully for best results.
Instructions
Follow these steps to make your mini heart cakes:
Preheat the Oven
Preheat your oven to 350°F (175°C) and grease your mini heart-shaped cake pans.
Mix the Cake Batter
In a large mixing bowl, cream together the softened butter and sugar until fluffy. Add eggs, buttermilk, red food coloring, and vanilla extract, mixing well. In a separate bowl, whisk together flour, baking soda, salt, and cocoa powder. Gradually add the dry ingredients to the wet mixture until combined.
Bake the Cakes
Pour the batter into the prepared pans, filling them halfway. Bake for 20-25 minutes or until a toothpick inserted in the center comes out clean. Allow the cakes to cool in the pans for 10 minutes before transferring to a wire rack.
Make the Cream Cheese Frosting
In a separate bowl, beat the softened cream cheese and butter together until smooth. Gradually add the powdered sugar and vanilla extract, mixing until creamy and fluffy.
Frost the Cakes
Once the cakes are completely cooled, spread a generous amount of cream cheese frosting between the layers and on top. Decorate as desired, and serve!
Enjoy your delightful mini cakes and share them with loved ones!
Pro Tips
- For best results, use a kitchen scale to measure the ingredients precisely and ensure optimal baking conditions.
Storage and Make-Ahead Tips
Mini heart cakes can be stored in an airtight container in the refrigerator for up to five days. If you want to prepare them ahead of time, bake the cakes and let them cool completely. You can wrap them tightly in plastic wrap and freeze them for up to three months. Just make sure to let them thaw in the refrigerator overnight for optimal texture.
When storing frosted cakes, keep in mind that the frosting can start to absorb moisture, which may alter its texture. To minimize this, it’s best to store the cakes uncovered for a few hours before sealing them. This way, the frosting can develop a slightly firmer crust.
Serving Suggestions
To elevate the presentation of your mini heart cakes, consider garnishing with edible flowers or fresh berries. This adds not only a pop of color but also a refreshing touch when combined with the rich flavors of the cake and frosting. Drizzling a bit of ganache over the top can also bring an extra layer of indulgence.
If you’re serving these cakes for an event, consider pairing them with a scoop of vanilla or cream cheese ice cream. The cold, creamy texture beautifully complements the warmth of the cake. Slice them into smaller portions for tasting stations—this way, guests can enjoy multiple desserts without overindulgence.
Questions About Recipes
→ Can I substitute the buttermilk?
Yes, you can use regular milk with a tablespoon of vinegar or lemon juice added to create a buttermilk-like effect.
→ How can I store the mini heart cakes?
Store them in an airtight container in the refrigerator for up to 4 days.
→ Can I use a different type of frosting?
Absolutely! Feel free to experiment with chocolate ganache or a simple whipped cream for a different flavor.
→ Are these mini cakes suitable for freezing?
Yes, you can freeze the unfrosted mini cakes for up to 3 months. Just ensure they are well-wrapped.
Mini Heart Cake with Red Velvet
Created by: Brianna Tate
Recipe Type: Dessert Delights
Skill Level: Intermediate
Final Quantity: 6 mini cakes
What You'll Need
For the Cake
- 1 1/2 cups all-purpose flour
- 1 cup granulated sugar
- 1/2 cup unsalted butter, softened
- 2 large eggs
- 1 cup buttermilk
- 1 tablespoon red food coloring
- 1 teaspoon vanilla extract
- 1 teaspoon baking soda
- 1 teaspoon vinegar
- 1/2 teaspoon salt
- 1/2 teaspoon cocoa powder
For the Cream Cheese Frosting
- 8 oz cream cheese, softened
- 1/2 cup unsalted butter, softened
- 2 cups powdered sugar
- 1 teaspoon vanilla extract
How-To Steps
Preheat your oven to 350°F (175°C) and grease your mini heart-shaped cake pans.
In a large mixing bowl, cream together the softened butter and sugar until fluffy. Add eggs, buttermilk, red food coloring, and vanilla extract, mixing well. In a separate bowl, whisk together flour, baking soda, salt, and cocoa powder. Gradually add the dry ingredients to the wet mixture until combined.
Pour the batter into the prepared pans, filling them halfway. Bake for 20-25 minutes or until a toothpick inserted in the center comes out clean. Allow the cakes to cool in the pans for 10 minutes before transferring to a wire rack.
In a separate bowl, beat the softened cream cheese and butter together until smooth. Gradually add the powdered sugar and vanilla extract, mixing until creamy and fluffy.
Once the cakes are completely cooled, spread a generous amount of cream cheese frosting between the layers and on top. Decorate as desired, and serve!
Extra Tips
- For best results, use a kitchen scale to measure the ingredients precisely and ensure optimal baking conditions.
Nutritional Breakdown (Per Serving)
- Calories: 380 kcal
- Total Fat: 26g
- Saturated Fat: 15g
- Cholesterol: 195mg
- Sodium: 85mg
- Total Carbohydrates: 32g
- Dietary Fiber: 3g
- Sugars: 24g
- Protein: 6g