Chicken Onigiri
Highlighted under: Global Cuisine
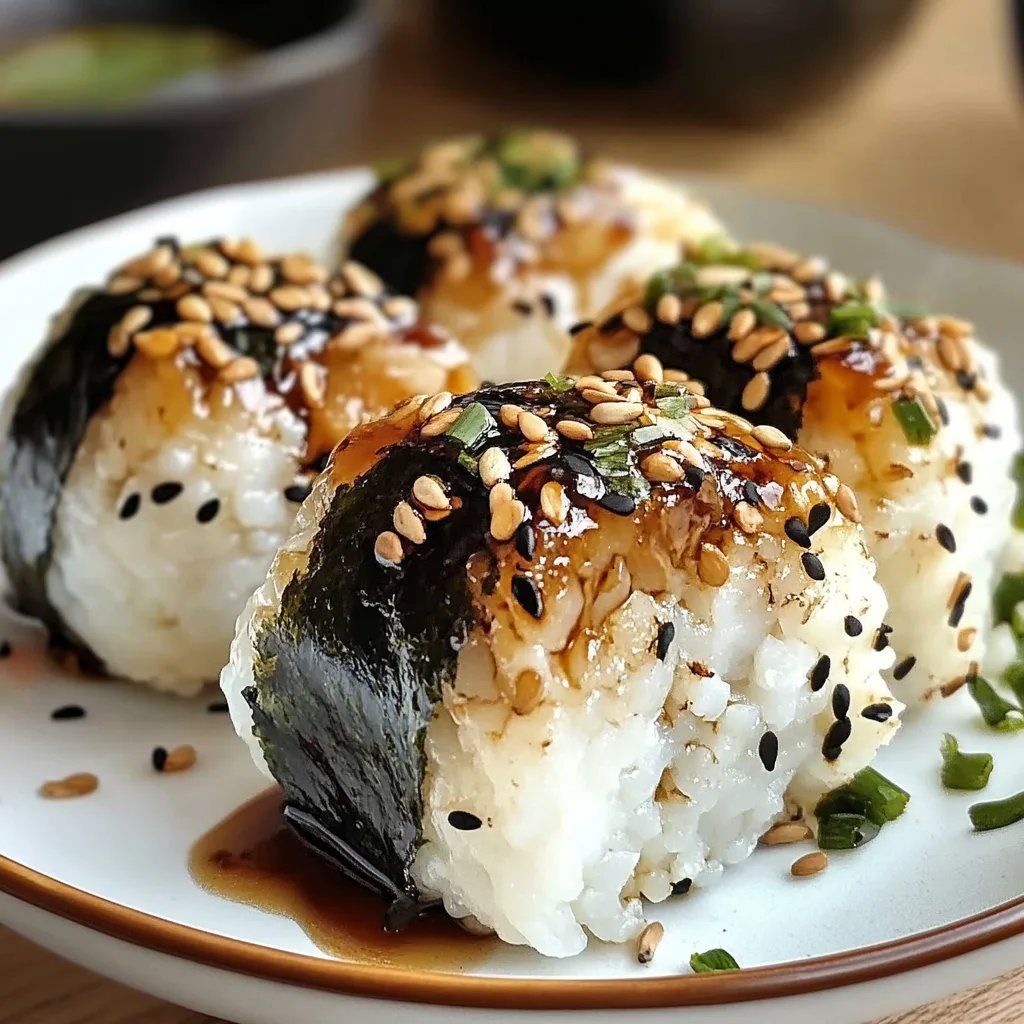
Experience the delightful blend of flavors and textures with this Chicken Onigiri recipe. These Japanese rice balls are filled with tender, savory chicken, making them a perfect snack or meal on the go. Learn how to shape and season sushi rice for a delicious fusion of taste that beautifully represents Japanese cuisine. Ideal for lunchboxes or as a flavorful appetizer, these onigiri are sure to impress.
A Taste of Japan
Onigiri, or Japanese rice balls, are a staple food in Japan, often enjoyed as a convenient snack or a meal. They are versatile and can be filled with a variety of ingredients, making them suitable for any palate. Chicken onigiri, in particular, combines juicy, savory chicken with the sticky texture of sushi rice, creating a delicious and satisfying bite that captures the essence of Japanese cuisine.
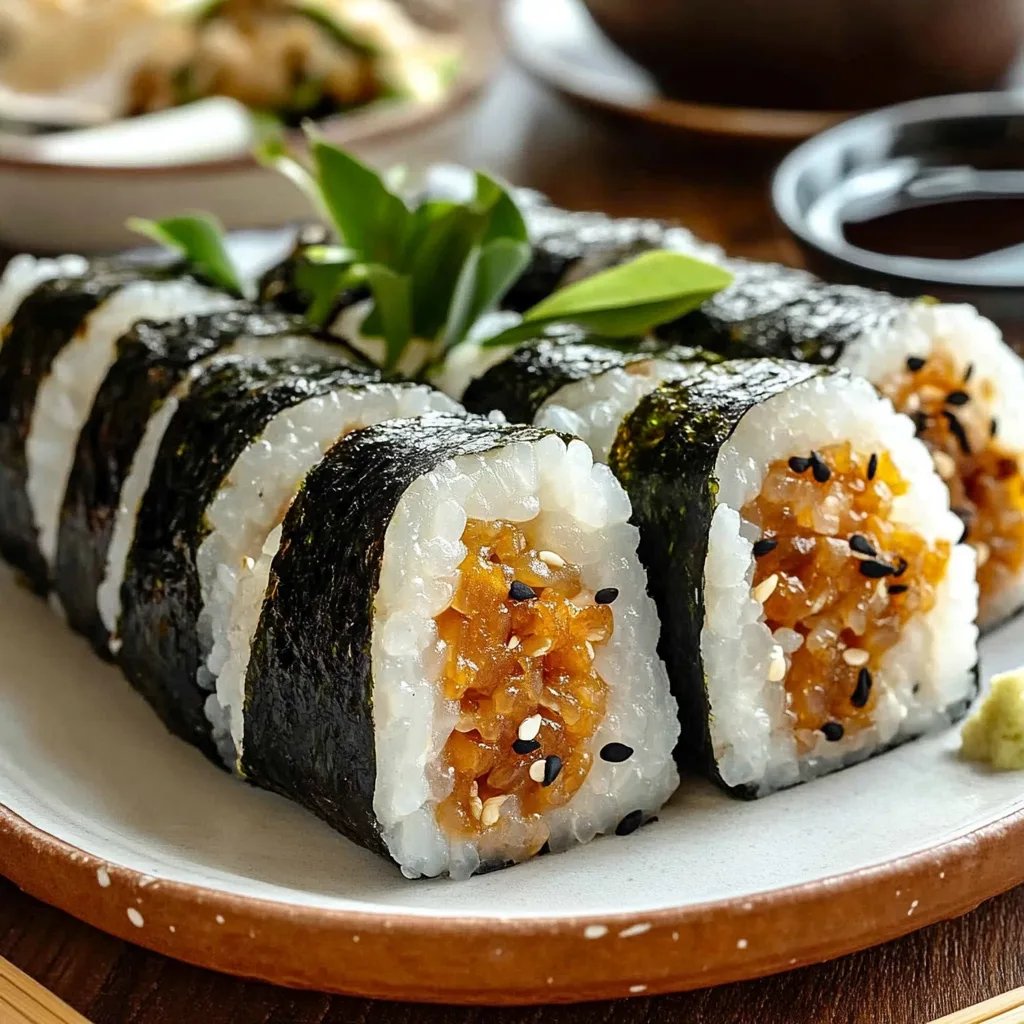
These rice balls not only taste great but also highlight a unique aspect of Japanese food culture, where balance and both flavor and nutrition play an essential role. By filling your onigiri with tender chicken flavored with soy sauce and sesame oil, you've got a dish that’s rich in umami and incredibly satisfying, perfect for lunchboxes or quick meals.
Tips for Perfect Onigiri
To make perfect onigiri, it’s essential to use sushi rice, which has the right level of stickiness to hold its shape when molded. Rinsing the rice before cooking helps remove excess starch, ensuring the grains are separate and fluffy after cooking. Allow the rice to rest before mixing in the vinegar and seasonings, as this enhances the flavor and texture.
When shaping the onigiri, wetting your hands is crucial to prevent the rice from sticking. You can also experiment with different shapes—triangles are traditional, but you can also press them into balls for a fun twist. Feel free to get creative with your fillings, using different proteins or even vegetarian options like avocado or pickled vegetables.
Serving Suggestions
Chicken onigiri can be served in various ways. They are fantastic as a standalone snack or light meal, but you can also pair them with traditional Japanese side dishes like miso soup or pickled vegetables for a more complete meal experience. Wrap them in nori for added flavor, or serve with a small dish of soy sauce for dipping.
For lunchboxes, consider including seasonal fruits or a small salad to complement the onigiri. These rice balls also make a great appetizer at gatherings, where guests can enjoy them as finger food. Their portable nature means you can easily pack them for picnics or road trips, providing a flavorful pick-me-up wherever you go.
Ingredients
For the Chicken Filling
- 1 cup cooked chicken, shredded
- 2 tablespoons soy sauce
- 1 teaspoon sesame oil
- 1 tablespoon green onions, chopped
For the Rice
- 2 cups sushi rice
- 2 1/2 cups water
- 2 tablespoons rice vinegar
- 1 tablespoon sugar
- 1 teaspoon salt
For Assembly
- Nori seaweed sheets, cut into strips
- Sesame seeds (optional)
Mix all ingredients well before assembling.
Instructions
Prepare the Rice
- Rinse the sushi rice under cold water until the water runs clear.
- Combine rice and water in a pot, bring to a boil, then reduce to low and cover. Cook for 20 minutes.
- Remove from heat and let it sit for 10 minutes, then fluff with a fork.
- Mix rice vinegar, sugar, and salt in a bowl, then fold into the rice gently.
Make the Chicken Filling
- In a bowl, combine shredded chicken, soy sauce, sesame oil, and green onions.
- Mix until well combined.
Shape the Onigiri
- Wet your hands to prevent sticking, take a small portion of rice, and flatten it in your palm.
- Place a spoonful of chicken filling in the center, then mold the rice around the filling to form a triangle or ball shape.
- Wrap with a strip of nori and sprinkle with sesame seeds if desired.
Serve immediately or pack in a lunchbox.
Pro Tips
- Keep the onigiri covered with a damp cloth to prevent the rice from drying out.
Storage Tips
To keep your chicken onigiri fresh, store them in an airtight container in the refrigerator. They are best consumed within one to two days to enjoy their optimal flavor and texture. However, if you're looking to prepare a larger batch, consider freezing them. Wrap the onigiri tightly in plastic wrap before placing them in a freezer-safe bag. They can be thawed and enjoyed later, though the texture may change slightly after freezing.
If you do plan on storing onigiri for later, it's a good idea to keep the nori separate until you're ready to eat. This prevents the nori from becoming soggy and losing its crispness, allowing you to enjoy the best of both worlds.
Nutritional Benefits
Onigiri is not only delicious but can also be a nutritious option. Depending on your fillings, you can incorporate a good source of protein, like chicken, along with carbohydrates from the rice. Sushi rice is gluten-free and can be enjoyed by those with gluten sensitivities, making onigiri a more inclusive food choice.
Additionally, by choosing fresh, whole ingredients, you can control the amount of seasoning and oils used, making it easy to tailor the recipe to your dietary needs or preferences. For a lighter option, consider using grilled chicken and fresh herbs to enhance flavor without unnecessary calories.
Questions About Recipes
→ Can I use other fillings?
Yes! You can use tuna, salmon, or even pickled vegetables as fillings.
→ How long can I store onigiri?
They are best enjoyed fresh, but can be stored in the fridge for up to 2 days.
Chicken Onigiri
Created by: Brianna Tate
Recipe Type: Global Cuisine
Skill Level: Intermediate
Final Quantity: 4 servings
What You'll Need
For the Chicken Filling
- 1 cup cooked chicken, shredded
- 2 tablespoons soy sauce
- 1 teaspoon sesame oil
- 1 tablespoon green onions, chopped
For the Rice
- 2 cups sushi rice
- 2 1/2 cups water
- 2 tablespoons rice vinegar
- 1 tablespoon sugar
- 1 teaspoon salt
For Assembly
- Nori seaweed sheets, cut into strips
- Sesame seeds (optional)
How-To Steps
- Rinse the sushi rice under cold water until the water runs clear.
- Combine rice and water in a pot, bring to a boil, then reduce to low and cover. Cook for 20 minutes.
- Remove from heat and let it sit for 10 minutes, then fluff with a fork.
- Mix rice vinegar, sugar, and salt in a bowl, then fold into the rice gently.
- In a bowl, combine shredded chicken, soy sauce, sesame oil, and green onions.
- Mix until well combined.
- Wet your hands to prevent sticking, take a small portion of rice, and flatten it in your palm.
- Place a spoonful of chicken filling in the center, then mold the rice around the filling to form a triangle or ball shape.
- Wrap with a strip of nori and sprinkle with sesame seeds if desired.
Extra Tips
- Keep the onigiri covered with a damp cloth to prevent the rice from drying out.
Nutritional Breakdown (Per Serving)
- Calories: 250
- Protein: 15g
- Carbohydrates: 40g
- Fat: 5g